 |
southcotswoldramblers.org.uk
Derwentwater
June 2014
Day
2 - Catbells and High Spy - the harder walk
Sunday 1 June
2014 |
Use Back Arrow on
your browser to see
Derwentwater menu
Holiday Photos |
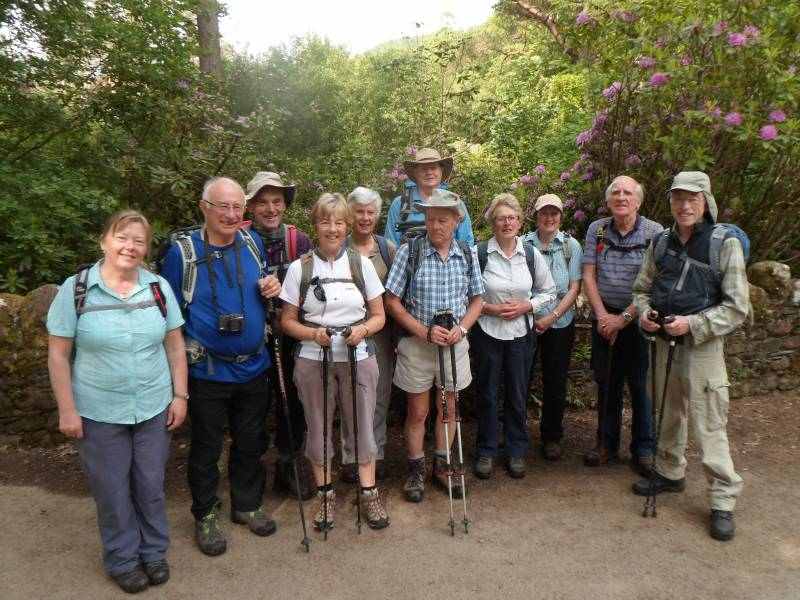 |
| The group assemble, smiling, for the start
of their first walk |
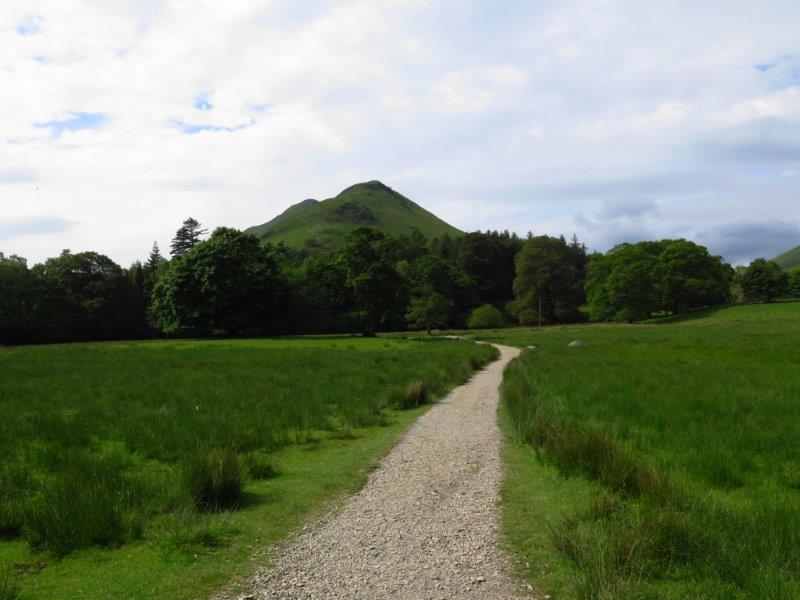 |
| Leaving the hotel our first day's
objective, Catbells, is straight ahead |
 |
| And we soon begin to climb |
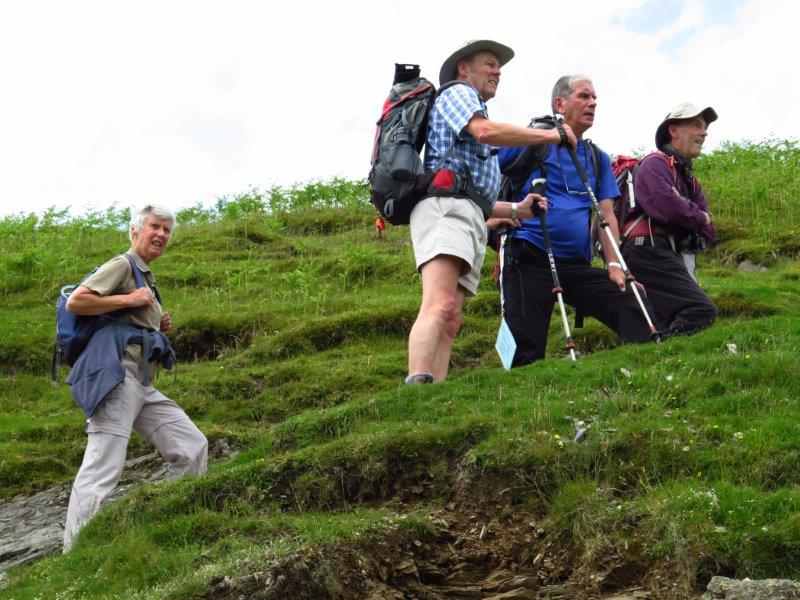 |
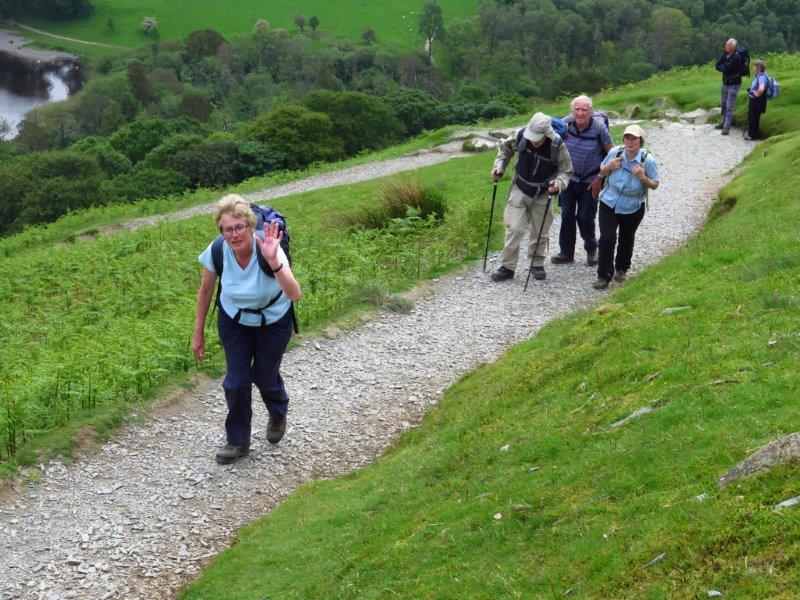
| The path getting steeper as we look behind
to see the view |
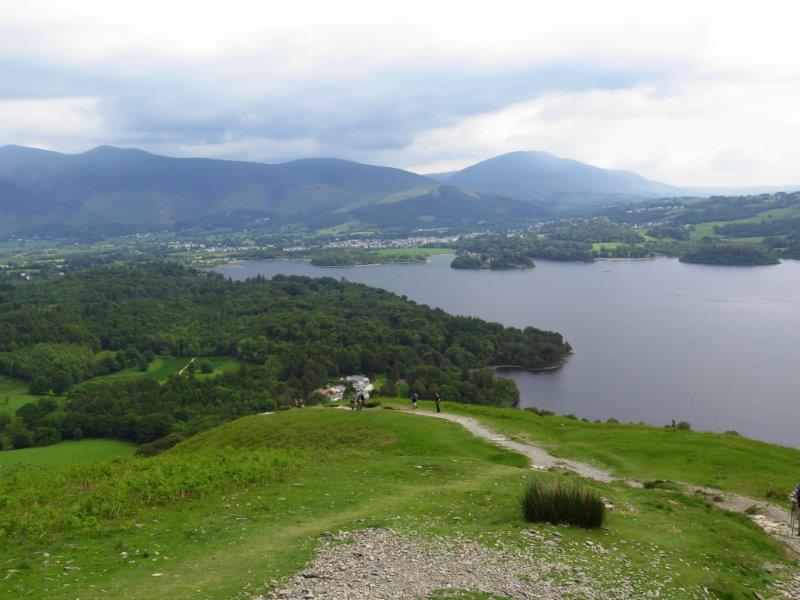 |
| Over Derwentwater to Keswick |
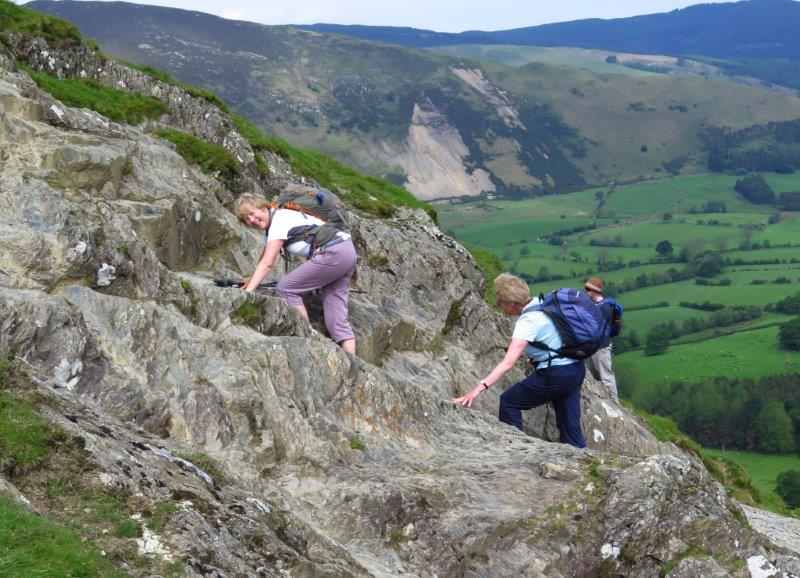 |
| A bit of scrambling |
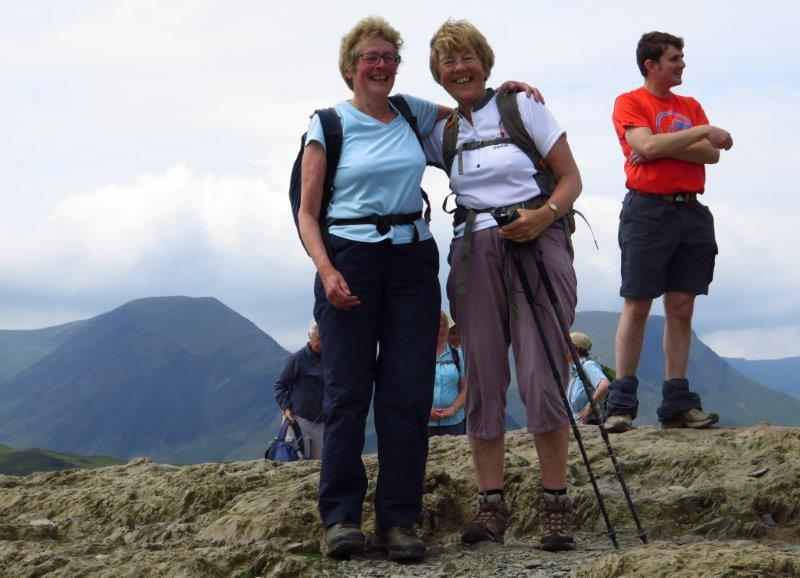 |
| Brings us triumphantly to the summit |
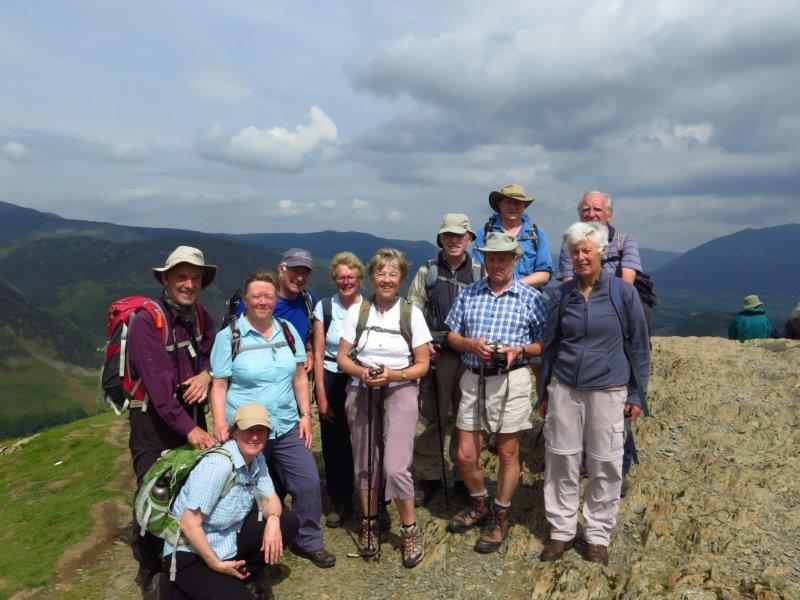 |
| And a group photo |
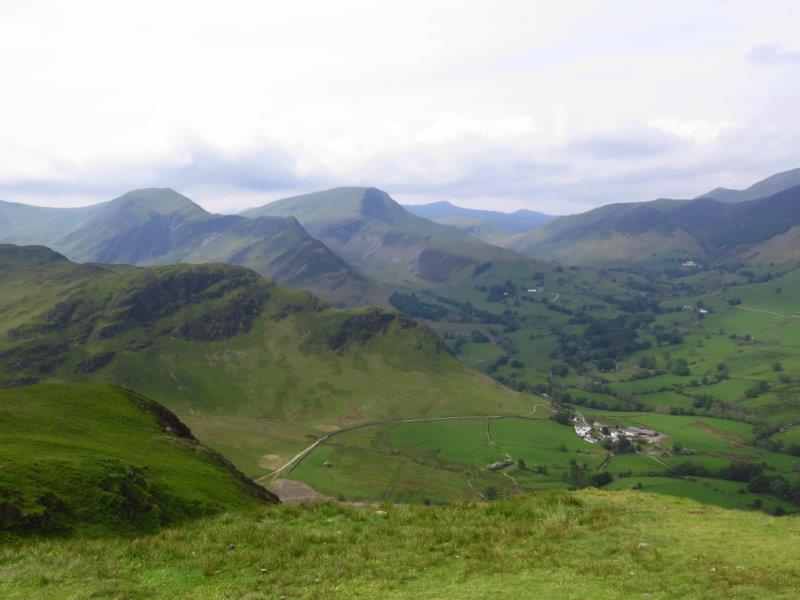 |
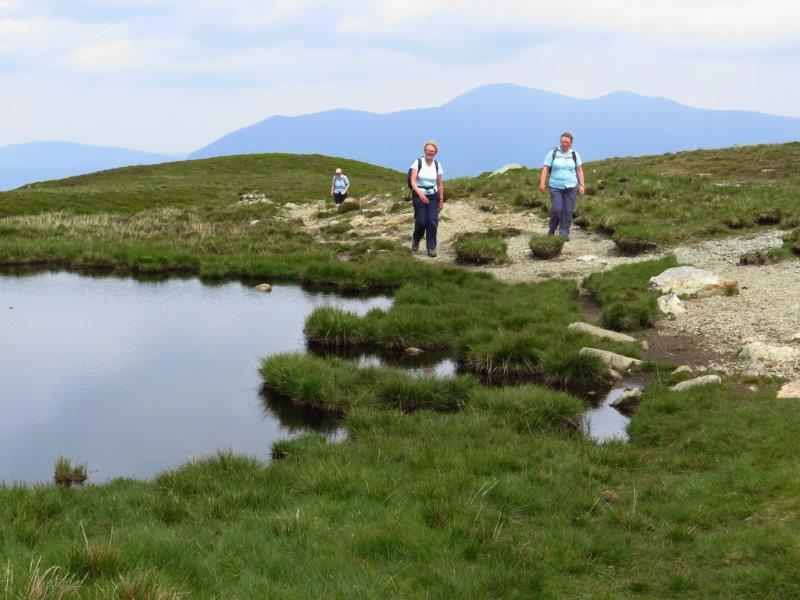
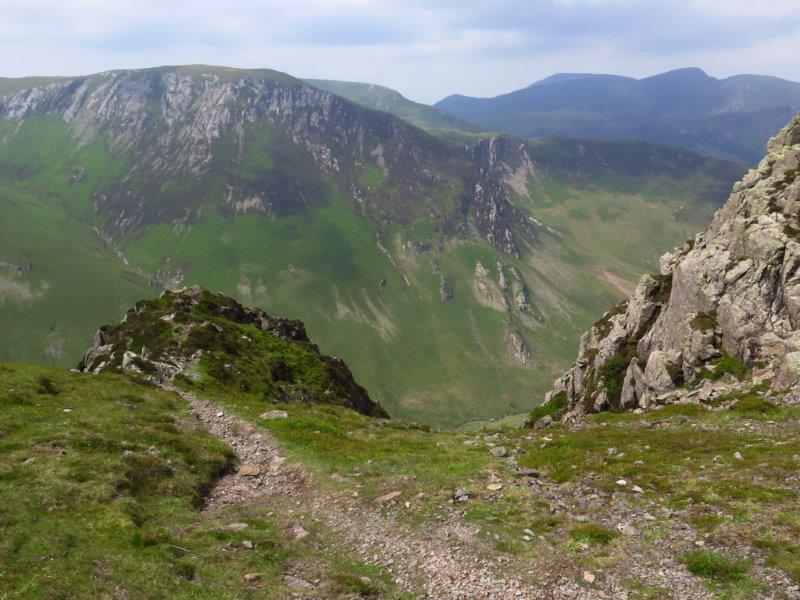
| Continuing on our way we look down into
the valley |
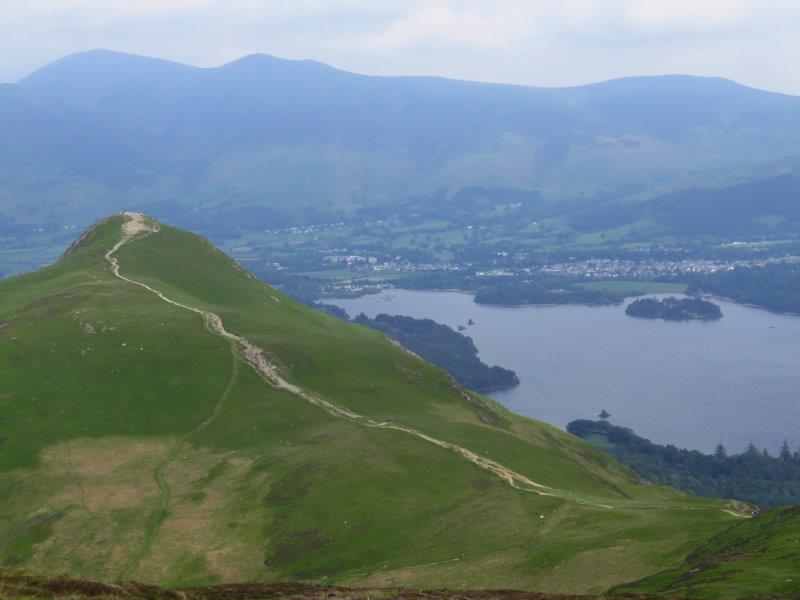 |
| And behind to Catbells |
 |
| A pause for Jan our leader |
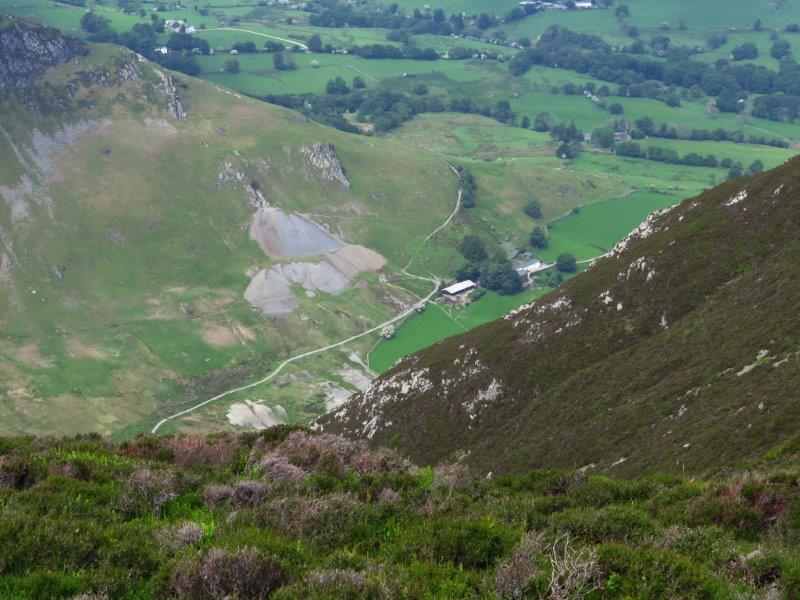 |
| To point out an old mine working in the
valley |
 |
| Our route taking us along Maiden Moor |
 |
| To High Spy |
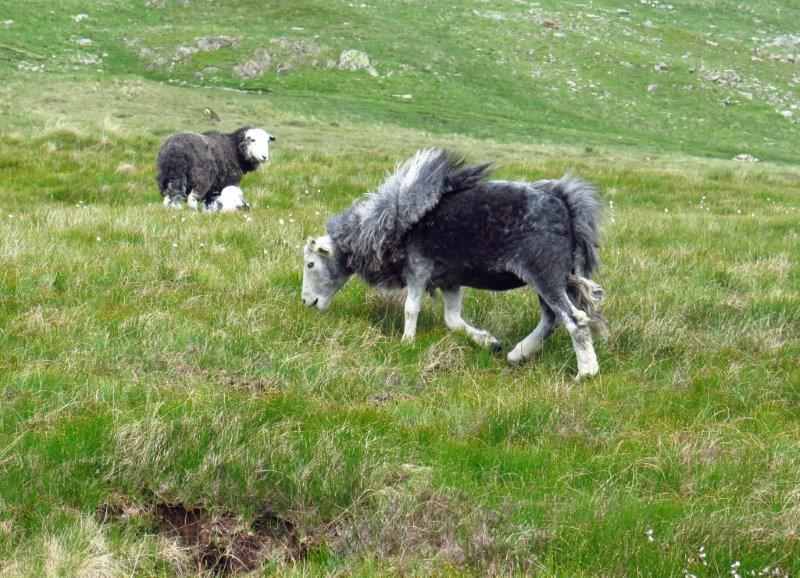 |
| Bad hair day |
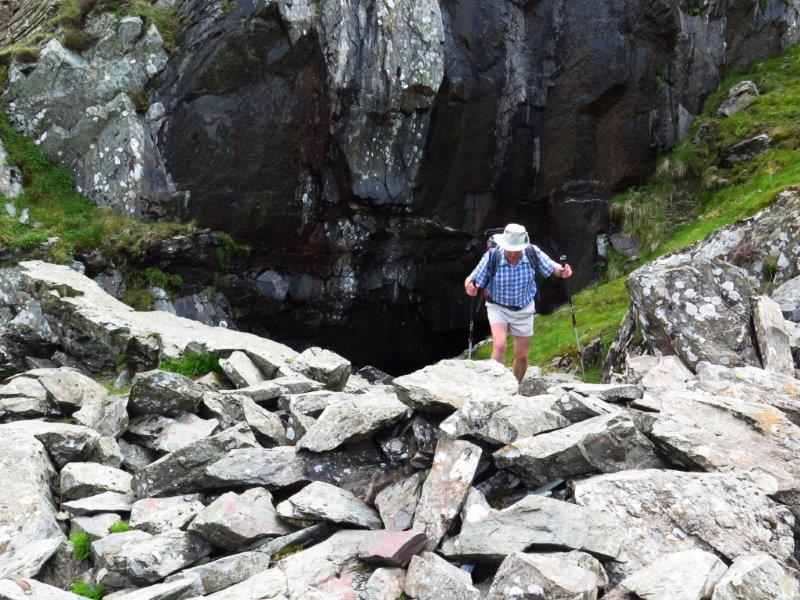 |
| Peter investigates an old mine |
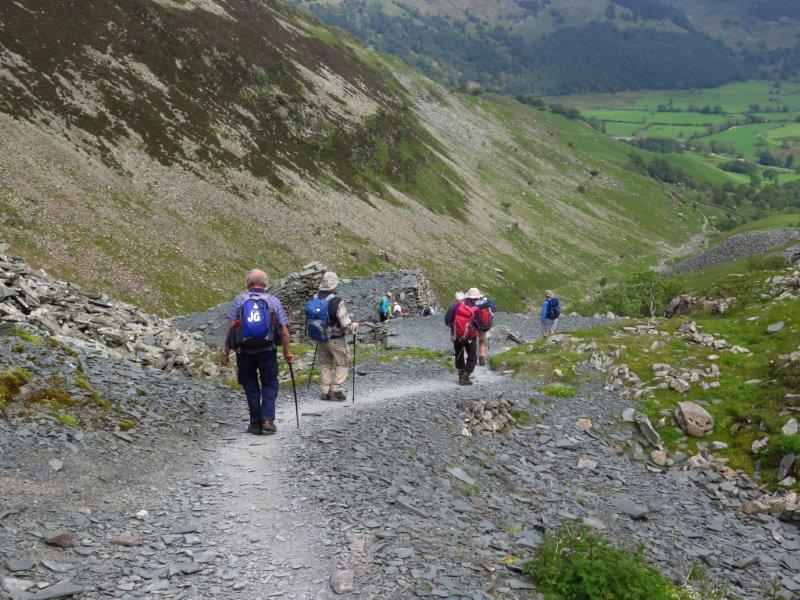 |
| Before we make our way downhill |
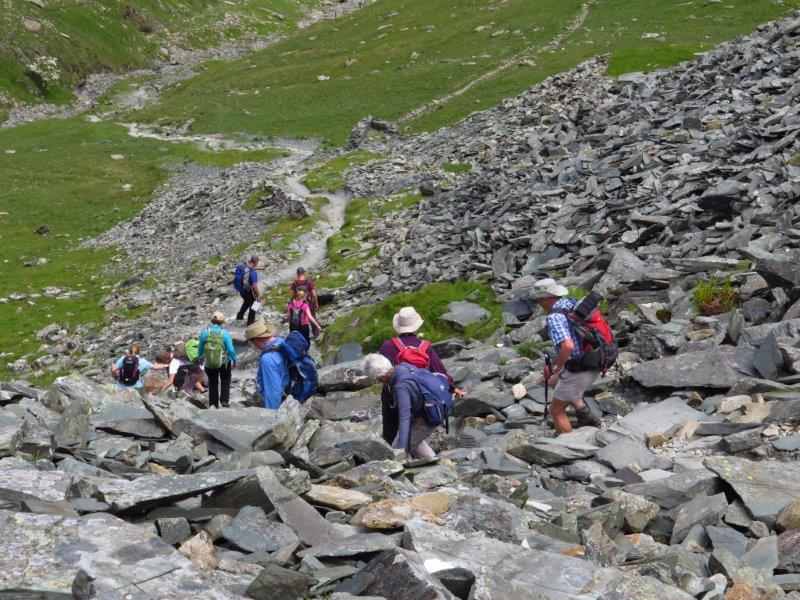 |
| On a difficult slate path |
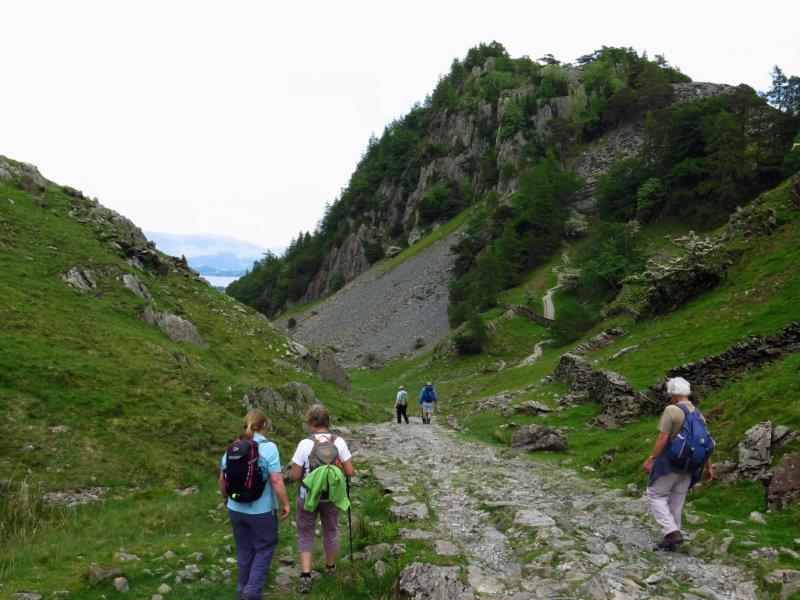 |
| Into the valley past Castle Crags |
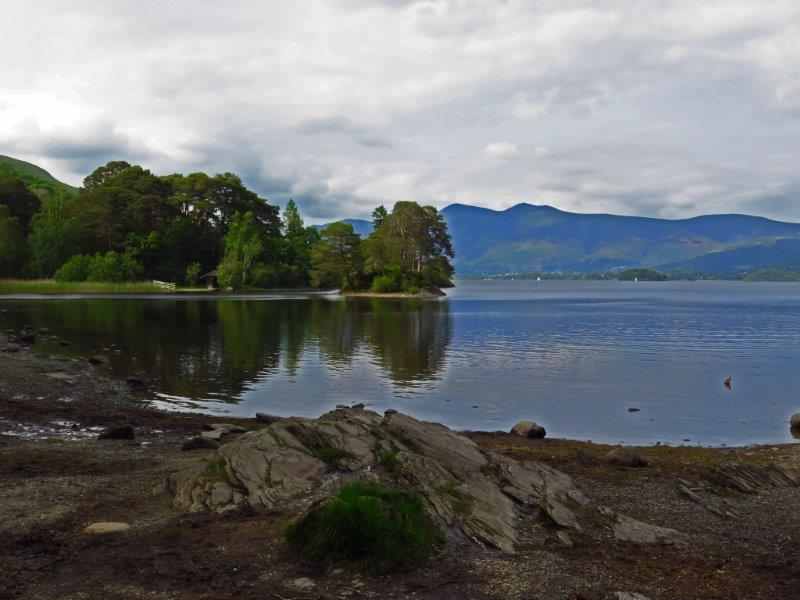 |
| To Derwentwater |
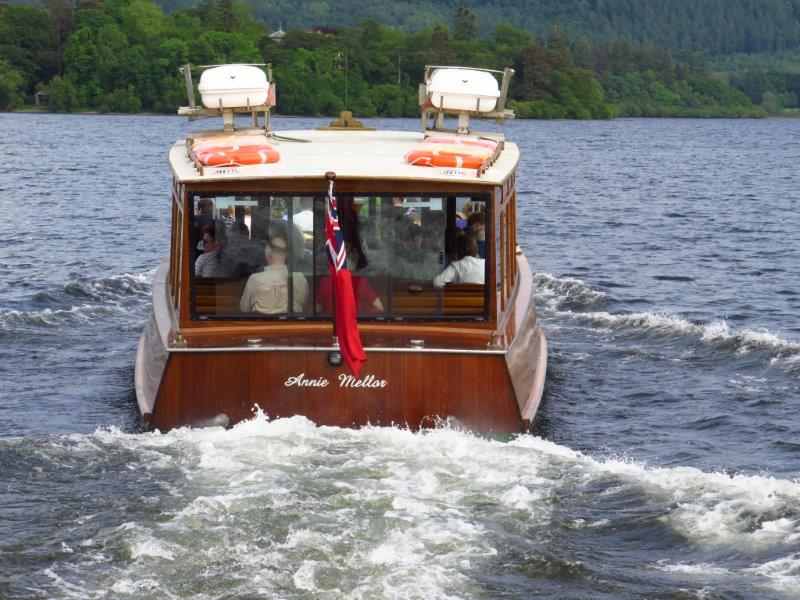 |
| Where a boat helps to speed our onward journey |
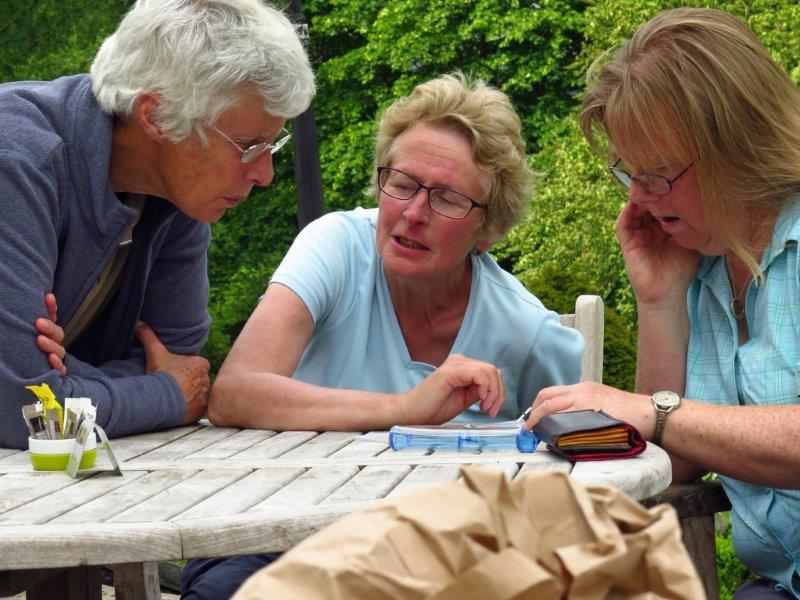 |
| Getting back in time to check where we have been |
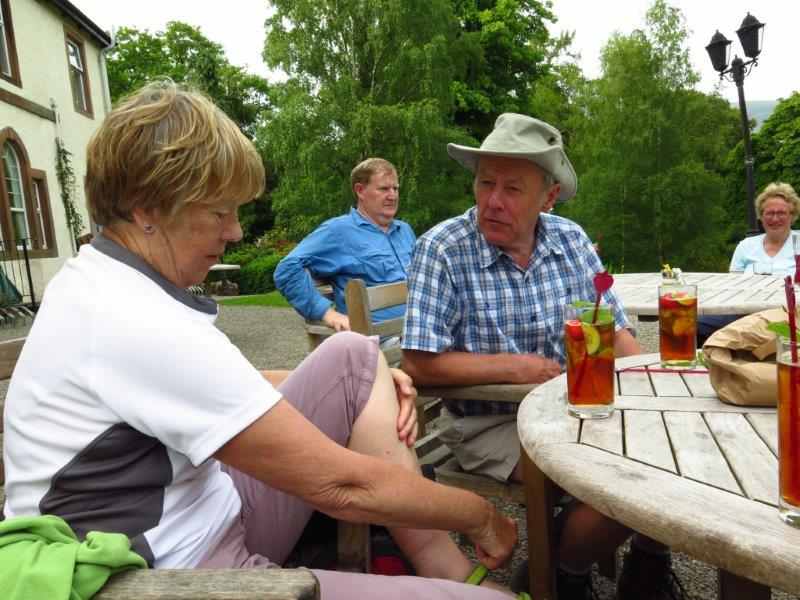 |
| At the hotel where it is now Pimms O'Clock |